


Kodi Leia is the 18th version of this popular media player application. This version brings a new interface and a lot of other changes. Talking about how to enable automatic subtitles on Kodi Leia, there is a recent update which addressed this issue. In Update 18.7, Kodi fixed multiple issues regarding subtitles. But that is not why we are today.
We have seen many people wondering how to enable subtitles because Kodi does not turn on this feature by default. That is what today’s article is all about. We are going to assume that you are only using the official Kodi add-on repository. So, let’s start.
Enable Automatic Subtitles on Kodi 18 Leia Official Repository
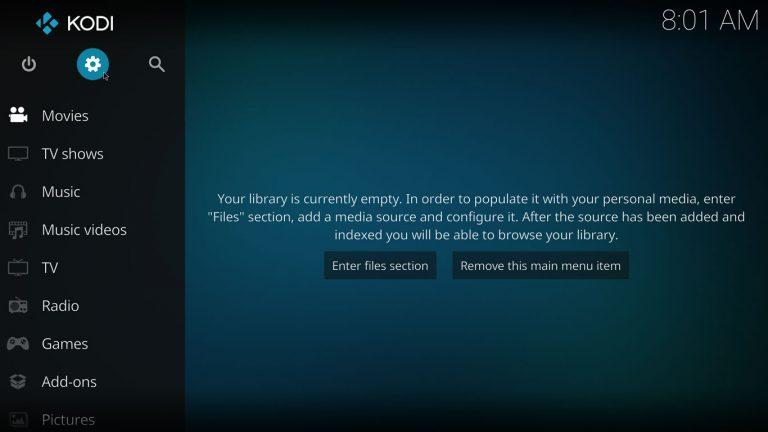
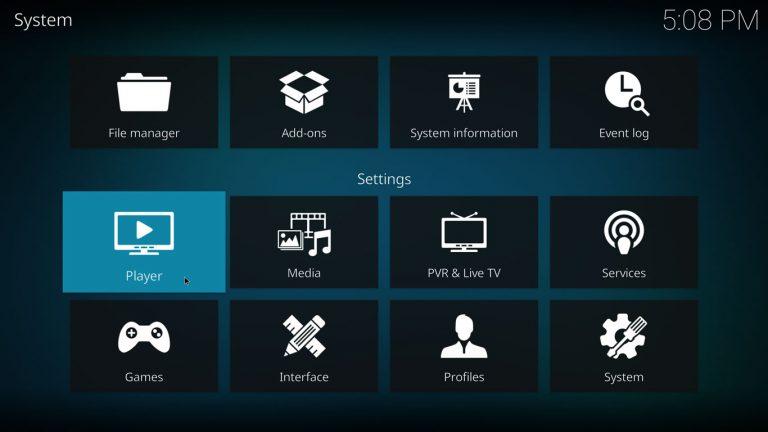
Step 1: Open the System menu as shown below.
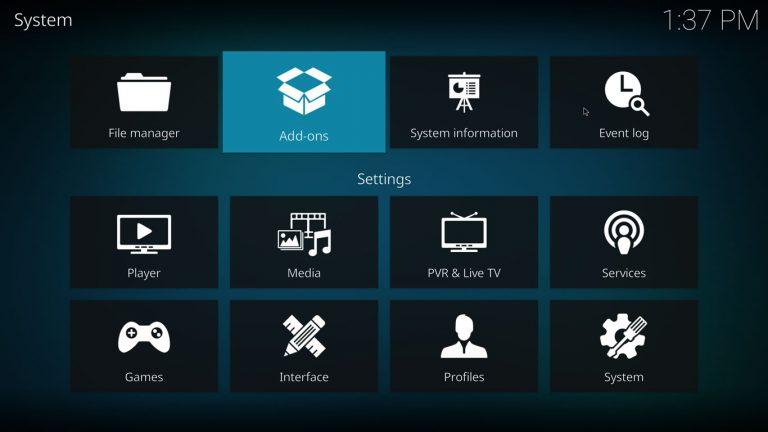
Step 2: Tap on Add-ons
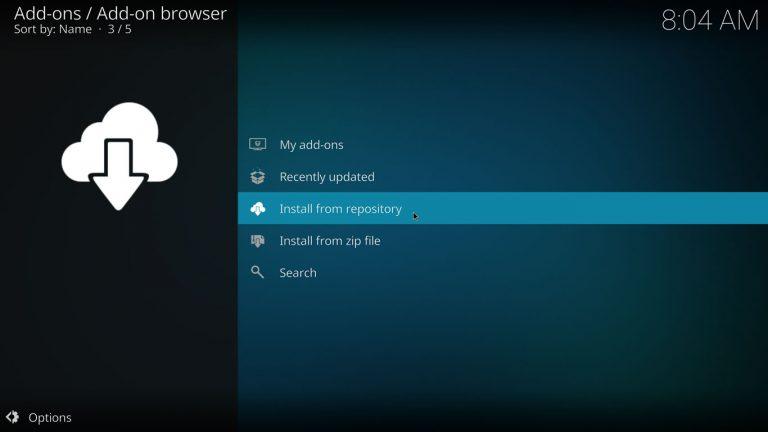
Step 3: Once you complete the 2nd step, you will come across the below window. Select ‘Install from repository’.
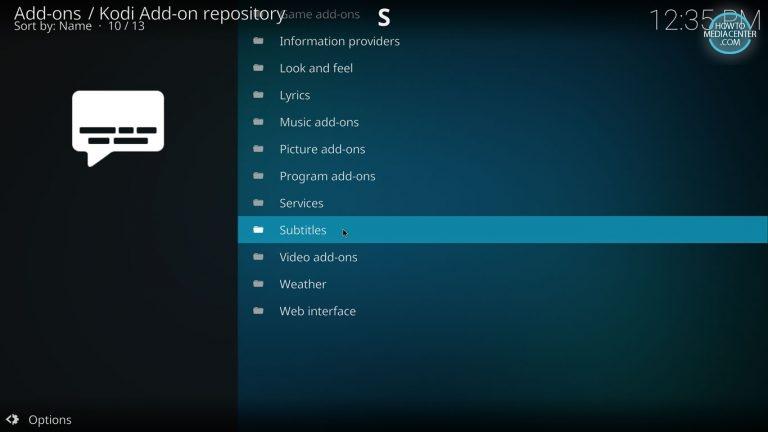
Step 4: You must select ‘Subtitles’ as shown in the Figure below. (They have used their logo in this image. Please remove before uploading).
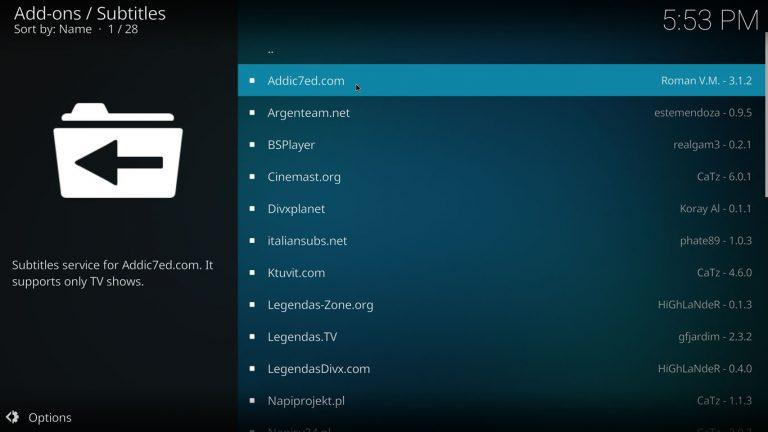
Step 5: Select the add-ons you want.
If you are unsure about which to select, do not worry. If you are going to be watching TV shows a lot, I recommend Addic7ed.com. It is the BEST choice when it comes to TV Shows. Overall, BSPlayer is quite good if you want English subtitles. If you are looking for other languages, we recommend asking on different forums. We are not sure which add-on works best for Spanish, Arabic, French or the other languages. Let us know the best choice in the comments section.
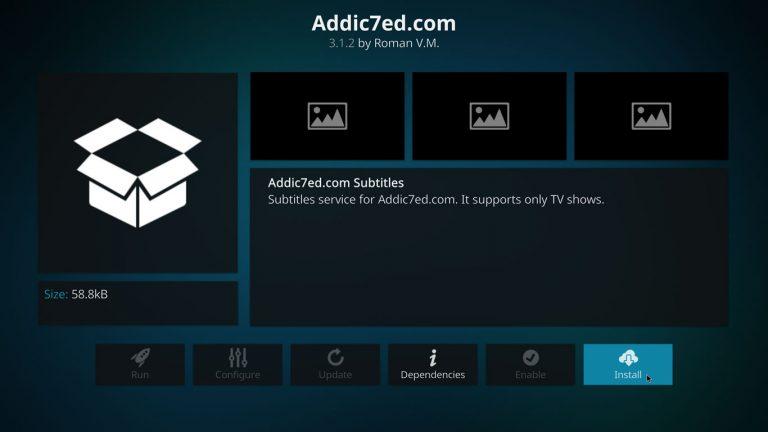
Step 6: Tap on ‘Install’. Now you can watch your favourite movies and TV shows with subtitles.
This guide does not end here. It is worth knowing how to select the default add-on and the preferred language for the subtitles. Therefore, go back to the Settings menu and follow the instructions below.
Step 7: Tap on the ‘Player’ Settings as shown below.
Step 8: Select ‘Language’ from the left menu
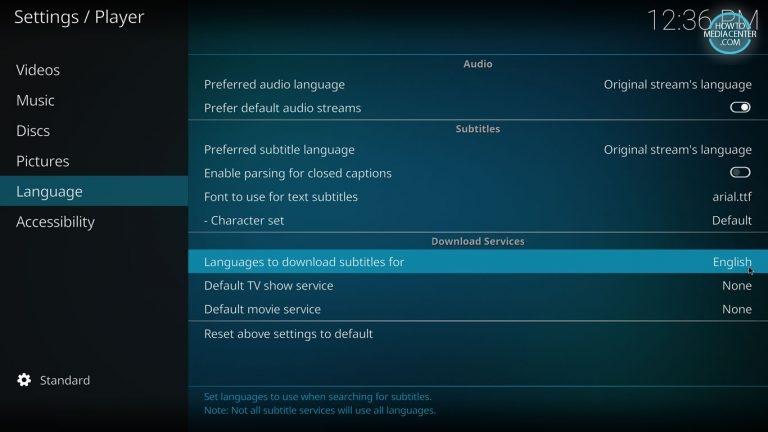
Step 9: Tap on the ‘Languages to download subtitles for’. Now, you can select any language from the given list. Please note that is possible for you to select more than one language as the below screenshot shows.
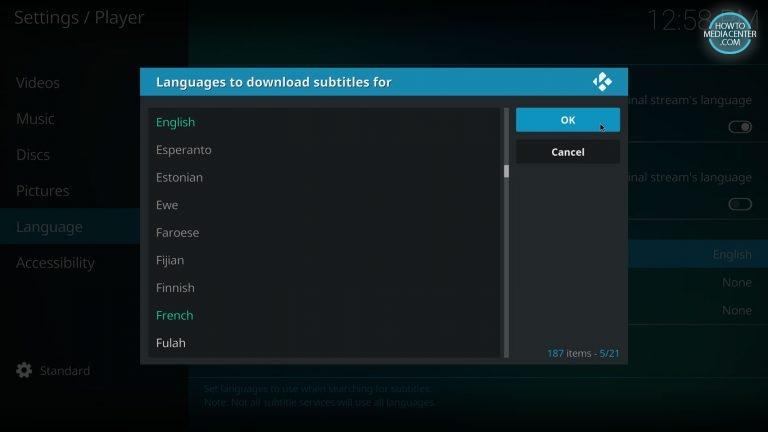
Step 10: Once you have selected your preferred language(s), tap on ‘OK’.
Step 11: You have previously installed on subtitles add-ons – Addic7ed or any other. Now, it is the time to use them. Tap on Default TV show service and Default movie service one by one. Select the add-on you installed earlier.
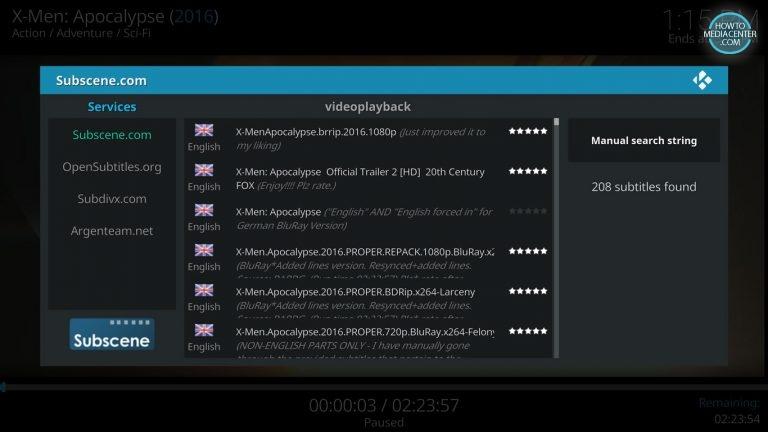
Step 12: Go back to the home screen. Open the content you wish to wash. Click on the ‘Subtitles’ icon on the bottom right of the screen as shown below. (Logo used in the picture)

Step 13: Tap on ‘Download Subtitles’ from the new window.

Step 14: Select the file you wish to download. You might have to try multiple files, until you find the right one. The rating might give you an idea about which one is the best. That’s it. You can now watch your content with subtitles.